
The rear panel
The roof trusses

Preparation
Steel framed building extension kit
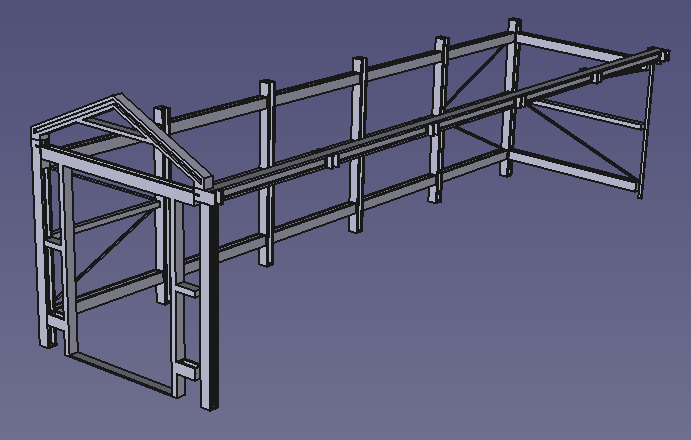
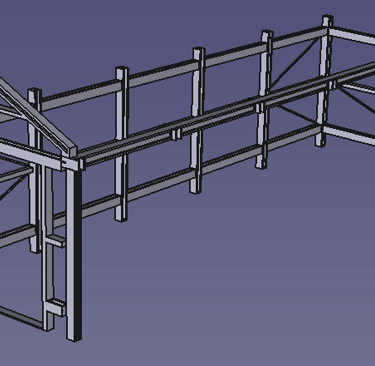
One or more extension kits may be used in conjunction with the complete building kit (all sold separately) to extend the building width by as many units as needed.
These kits have been designed in such a way as to be modular and relatively easy to prepare and construct. Ample glueing surfaces and tab locators will help you piece this all together...
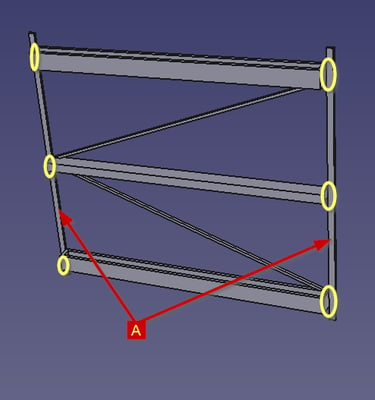
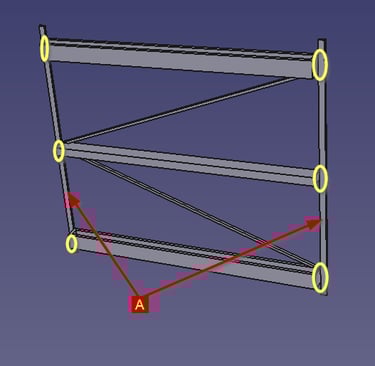
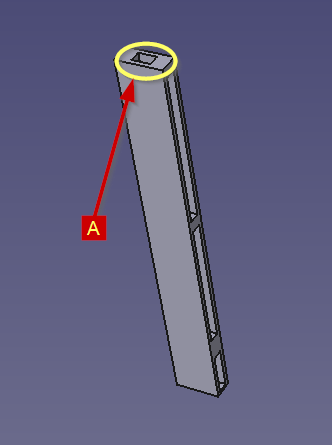
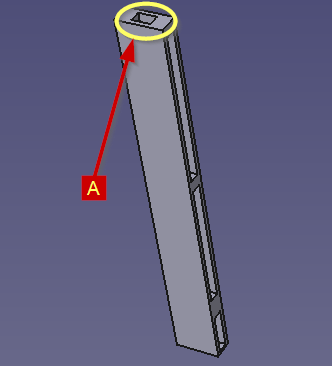
Only the rear panel and all of the roof trusses required attention prior to fitment.
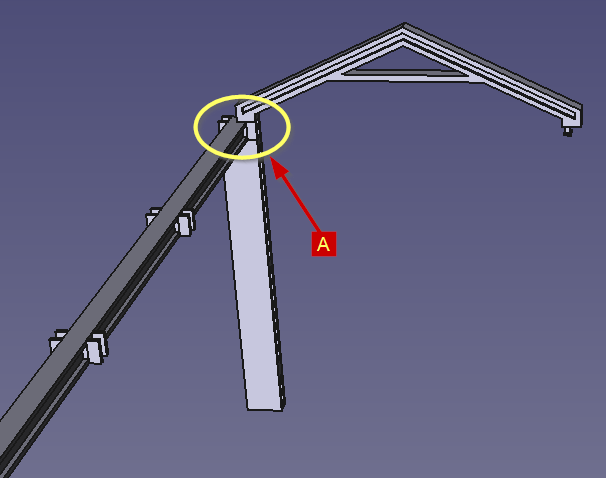
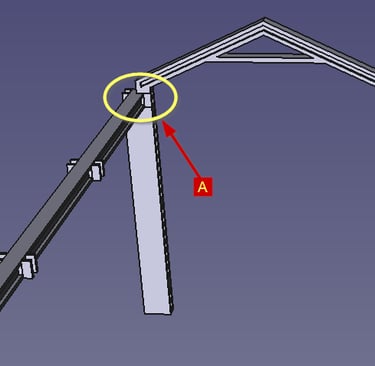
The two side bars (A) require detaching at the points circled in yellow. Using a scalpel cut along tight up against the horizontal bars to leave a clean flat surface.
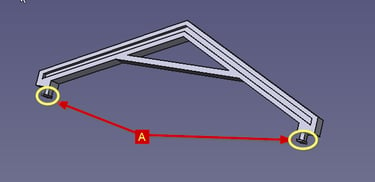
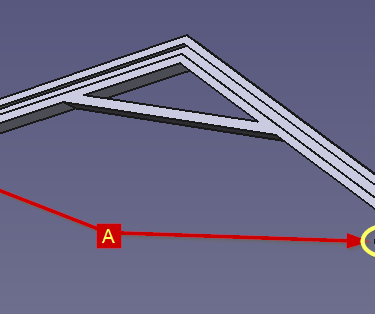
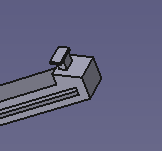
There are two tabs on the bottom of each roof truss. On each tab there is a small vertical piece that must be removed so that it can slide into the receiving parts.
Use a scalpel to remove each of the vertical pieces

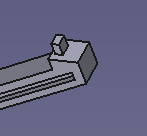
From this
To this
Construction
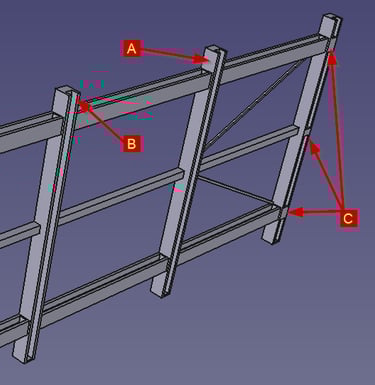
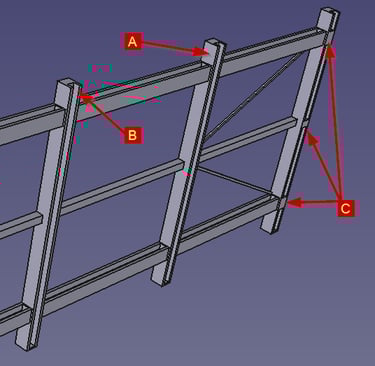
The side panel
Note some features and their orientation.
This view shows the panel that will be inside the building; noting that the shorter part of the uprights (A) is to the top, the recess for the roof truss (B) and the front and rear panel pads (C) are facing inwards .
The intermediate roof beam upright
This part provides support the the intermediate roof beam for both front and rear. The roof beam has tabs that locate into (A).
From the picture below you can see that (A) shows the junction between the intermediate roof beam, the front/rear upright and a roof truss.
APB Creative Minds - 3D printed and laser cut creations
info@apbcreativeminds.com
©2024-2025. All rights reserved.