Modelling with PLA Prints - Hints and Tips
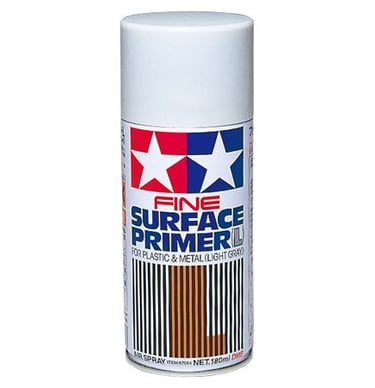

Colour changing PLA
If you wish to alter the majority or all of a print colour then follow these simple steps...
Use a plastic primer, such as Tamiya Fine Surface Primer for plastic and metal (see FINE SURFACE PRIMER L FOR PLASTIC & METAL (LIGHT GRAY) | TAMIYA). Apply a couple of light coats, allowing drying time between coats.
Once the primer coat is fully dry you may apply a topcoat, many colours are available, but Tamiya Color for Plastics work really well.
Weathering PLA
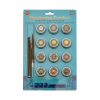
This at first glance might sound like adding colour with acrylics, but is much more subtle. Weathering powders (such as these: Weathering Set - Super Value Pack) allow a dusting of colour giving an even more realistic finish. These are best used dry with a soft brush. Pick up some powder on the brush and lightly dust over the required areas. Adding a dirty effect at ground level, to match the ground colour on the layout will help the item bed in. Adding streaks from the top is also a great way to make outside objects look great.
The trick is to start gently and build up, and of course adding the right amount to get the level of weathering you require. Remember not to make everything look the same (make things look of varying age).
Locking in and dulling down
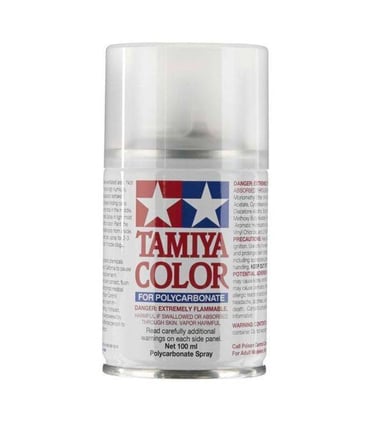
It is always possible to leave a print as delivered, for that really new look. However applying a flat clear or dull coat (such as Tamiya Color for polycarbonate flat clear (PS-55), see PS-55 FLAT CLEAR | TAMIYA) helps take the shine off a little and vastly reduces the plastic look.
If weathering powders have been used it is very much a requirement to use a dusting of this coating. By doing this the powder is protected and will thus not come off over time, when handled or cleaned (when removing dust build up or cobwebs etc).
The application is pretty simply. Just give a light coating over all finished sides of the item, and allow to dry. Typically only one coat if required and you are ready to go.
Glueing PLA
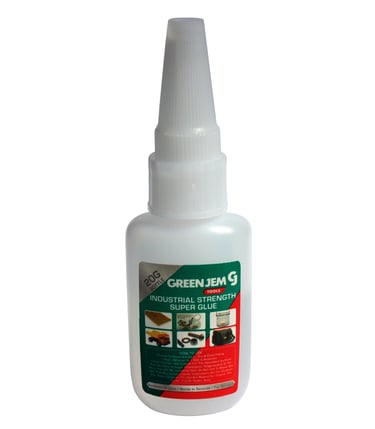
When it comes to having to stick things together, and with PLA specifically, we have tried a number of different 'super glue' products to varying degrees of success. Our recommendation is a product called 'Green Jem', for which it is best to put some on to a cocktail stick and apply indirectly to one of the surfaces to be glued. This is available for example from here: Tips and Tricks for Mastering Model Making with Green Jem Superglue, this link also provides a good deal of advice.



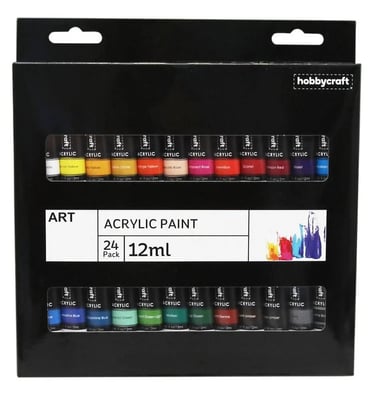

Adding colour variations to PLA
Acrylic paints (such as these Acrylic Paint Set 12ml 24 Pack | Hobbycraft) allow a print to be toned down and make it possible to add lots of subtle colour variations. This allows dirt, rust and general weather damage to be modelled. No primer is necessary, so the paint can be brushed or dabbed on and dabbed off as required. Getting the paint distributed in an uneven (patchy) manner helps greatly with generating that realistic look.
All our modelling related printed products are made with a 3D printing filament known as PLA, for which there are probably many products and methods available for finishing this material. To save you time, money, trial and error, and to give you confidence, below are our product recommendations and methods for readying your items for installation on to your layout. Of course there are many manufactures/products out there, so it goes without saying "others are available".
All the finished prints displayed on our Gallery and product pages are detailed using these products.
We would like to make clear that the above product recommendations are directly from our experience. These are not paid for recommendations or promotions in any shape or form.
APB Creative Minds - 3D printed and laser cut creations
info@apbcreativeminds.com
©2024-2025. All rights reserved.
