
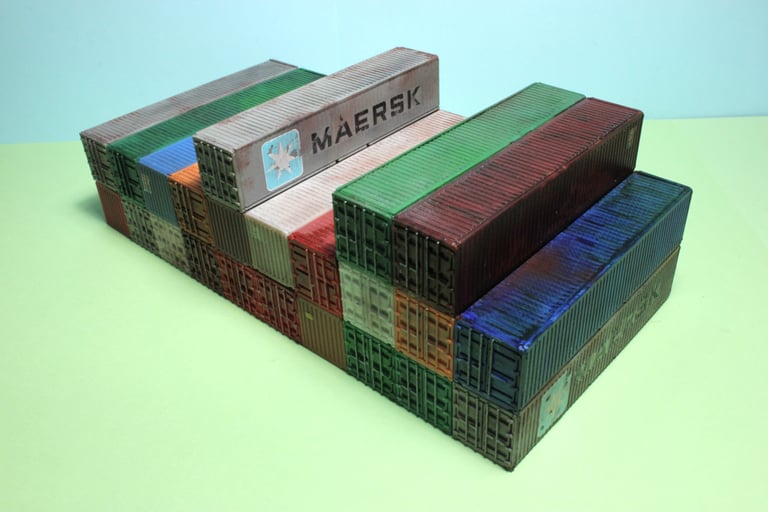
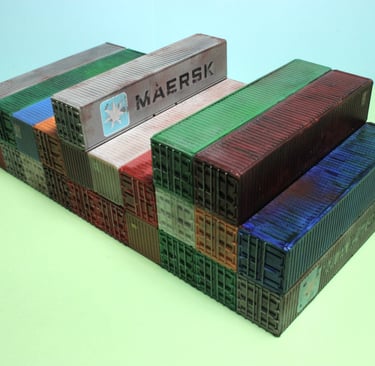
Constructing a Stack of Shipping Containers
Using our Component Packs
Tools
Scissors or a scalpel with a cutting mat
Ruler and pencil
Jig (optional)
Materials
A sheet of cardboard in black or grey and a black marker pen
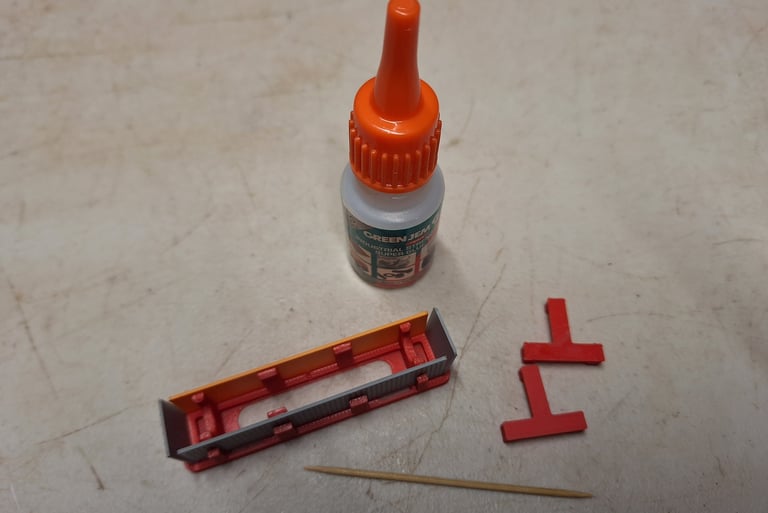
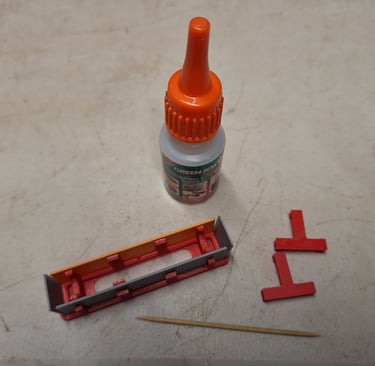
Glue (Bostic works well)
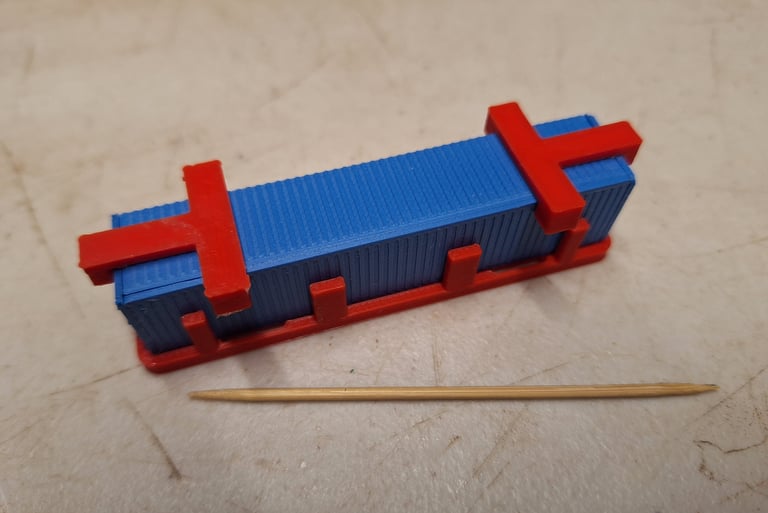
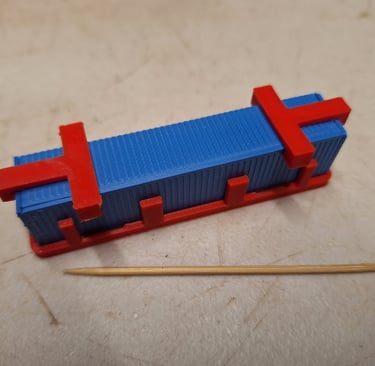
Shipping container stacking components
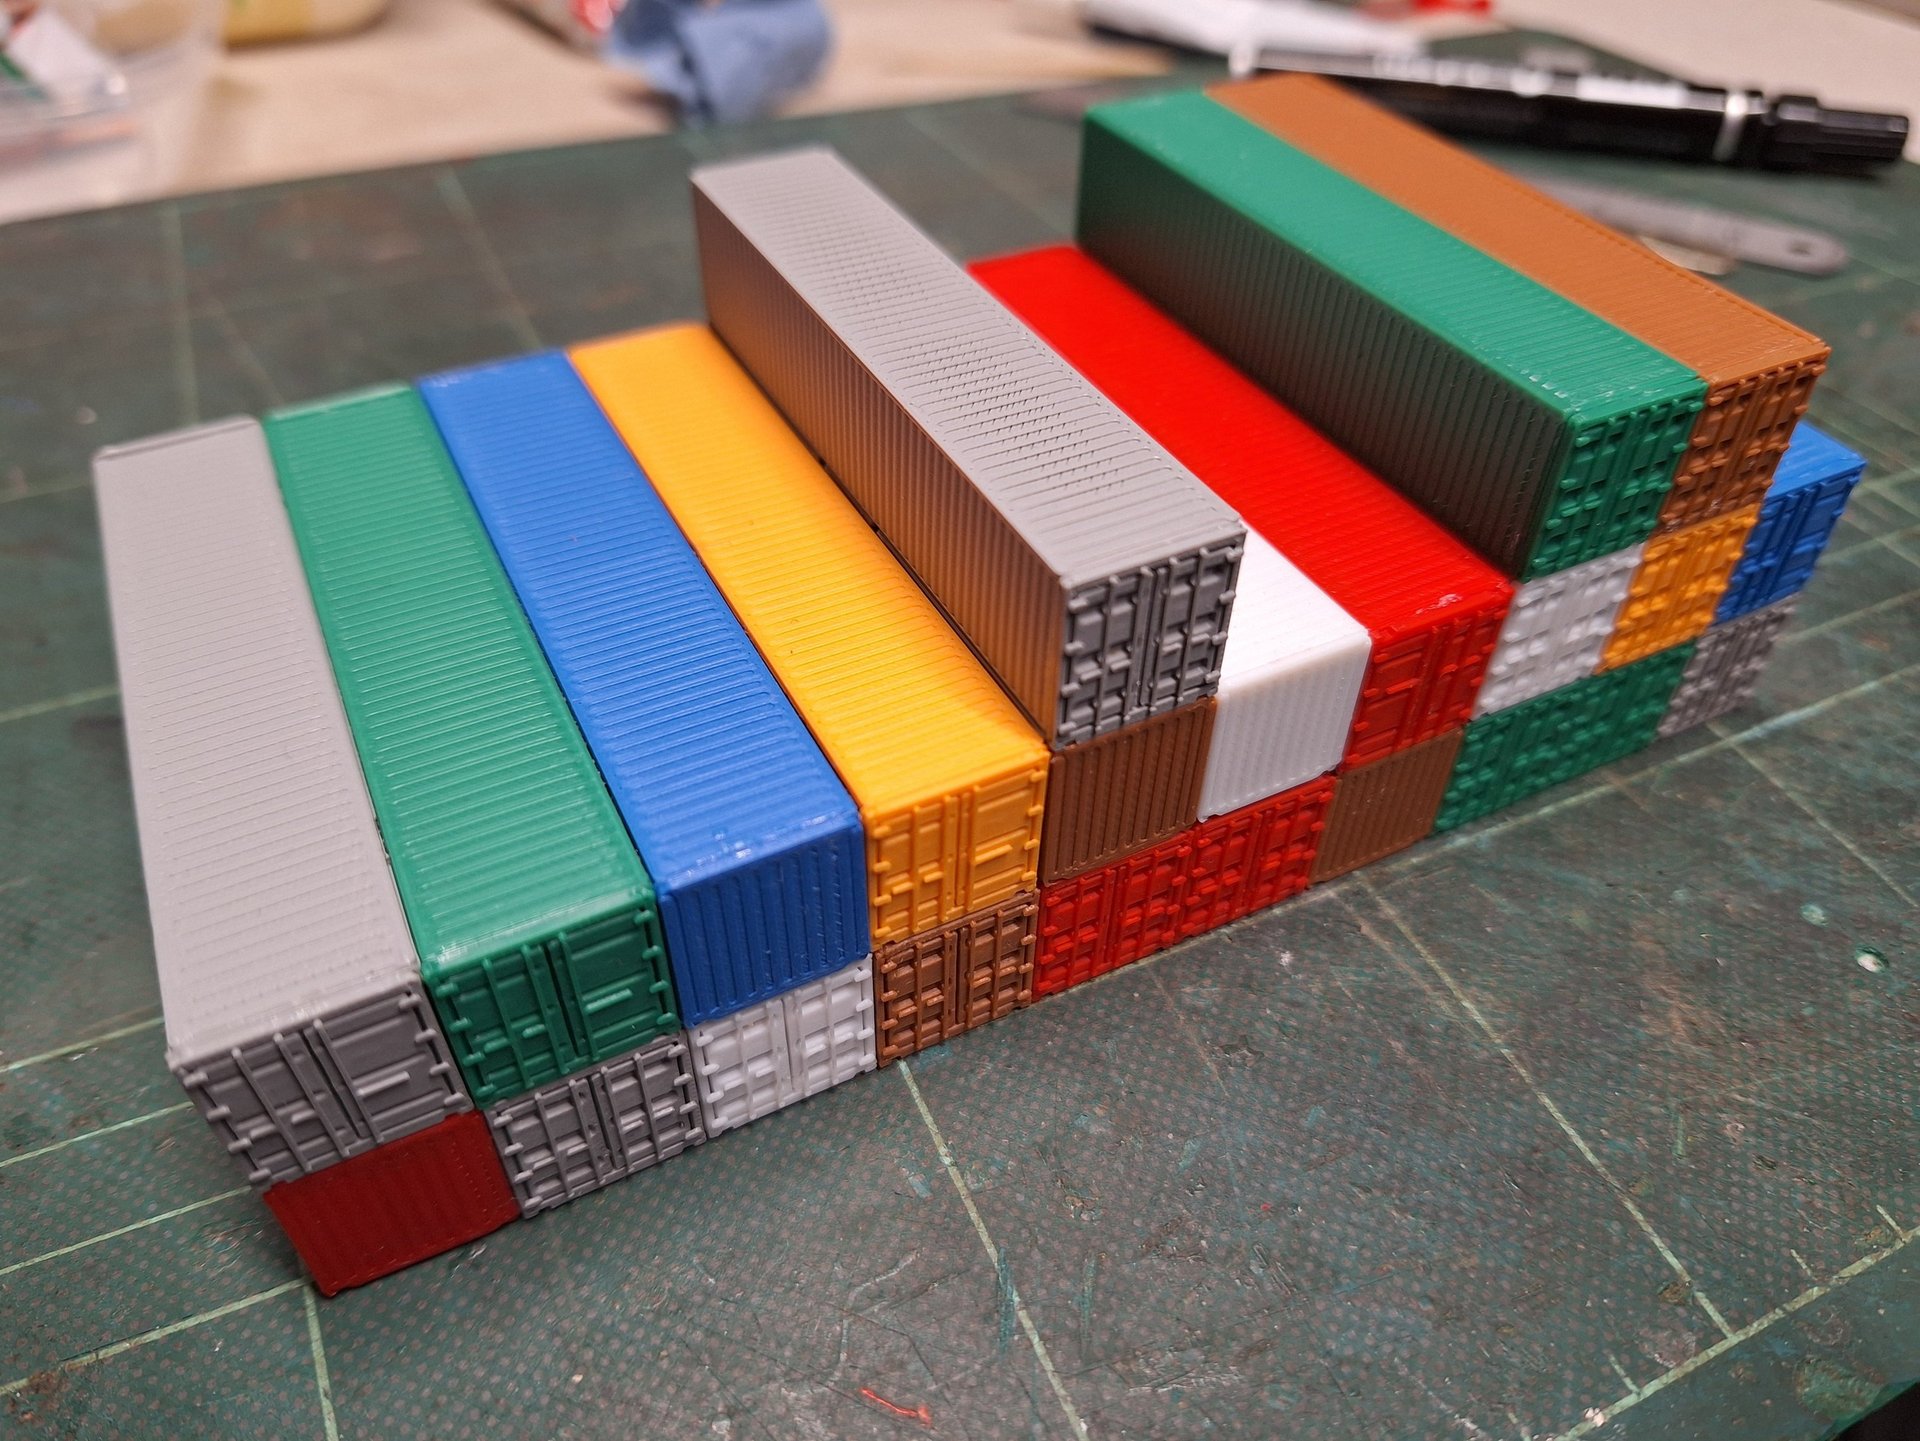
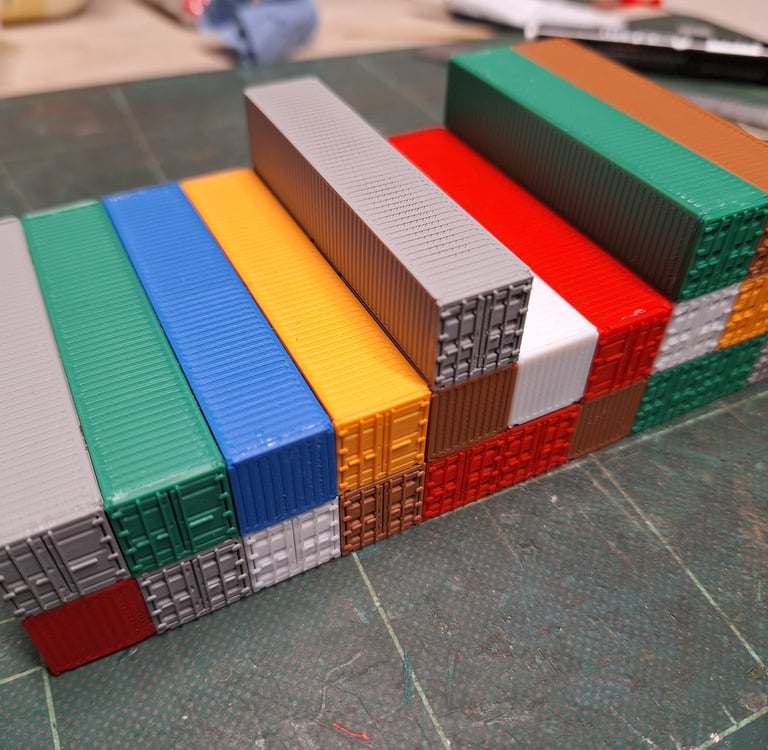
Starting with the complete container at the bottom of the stack, here this being the grey container on the right:
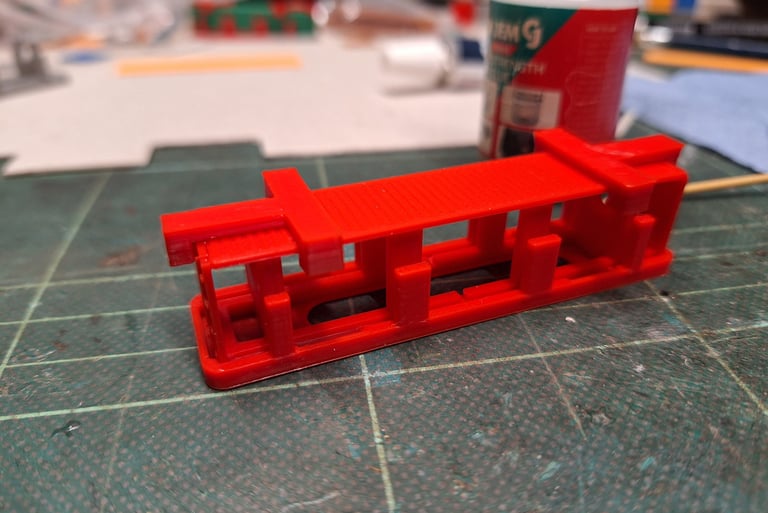
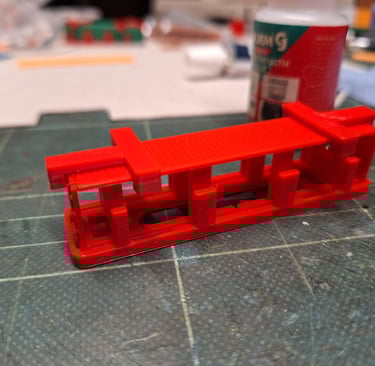
Place the door and rear panels into the jig
Run some glue along the short sides of the side panel and place into the jig.
Using another side panel put that in the jig, this is not glued and is used to help hold things in place
Position the two clips to pull the ends inwards, clamping them against the side panels and allow to set
Once you've planed, purchased and have your flat pack parts in hand here's what to do to turn them into a 3D stack
Follow this step by step guide on how to piece it all together...
In this example we are building the container that will sit on the grey one just built:
Place the front and rear panels into the jig, remembering to place the fork slots downwards
Run some glue along the short sides of the side panel and place in the jig, again remembering to place the fork slots downwards
Using another side panel put that in the jig (this is not glued and just used to help hold things in place)
Position the two jig clips to pull the ends inwards, clamping them against the side panels and allow to set
Then take an end of roof panel and apply glue to the three sides that will butt up against the three blue panels, this roof panel is handed so get it the right way round!
Put the roof section in the jig and use the clamps once again to hold in place
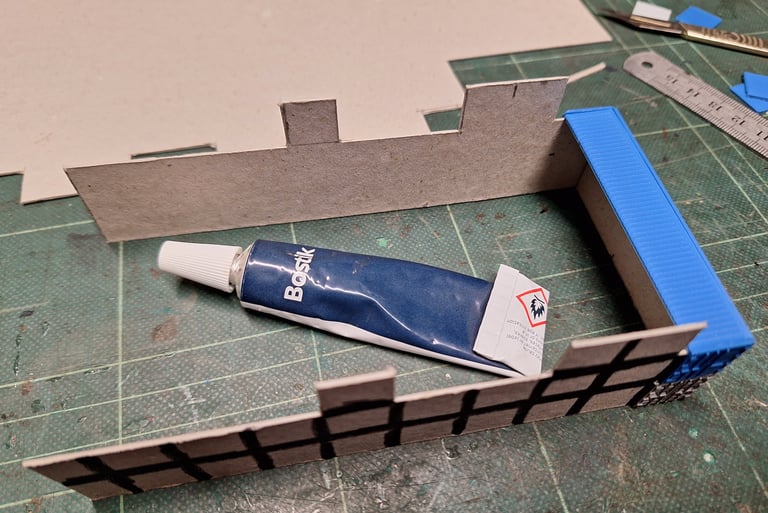
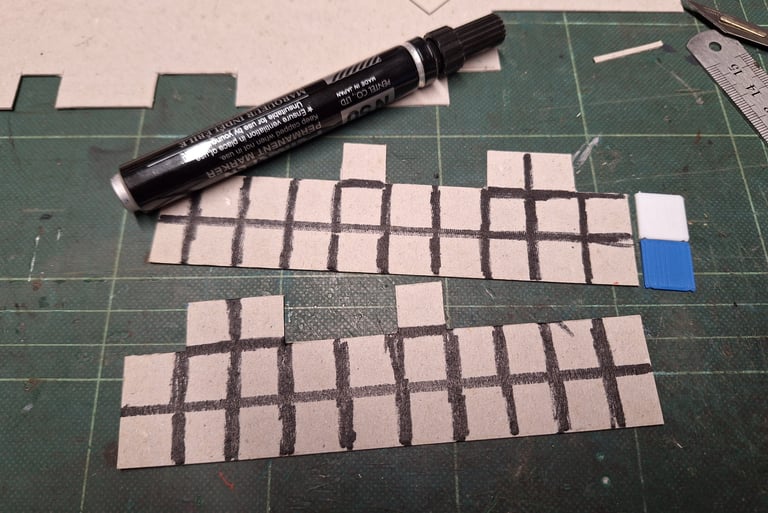
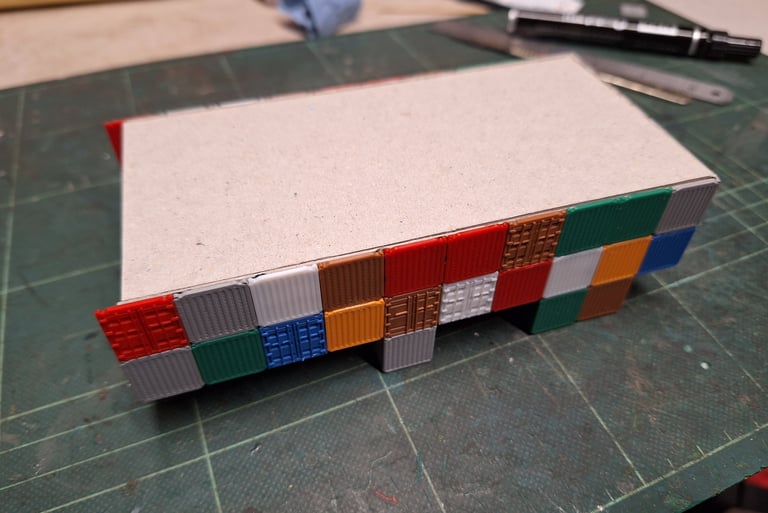
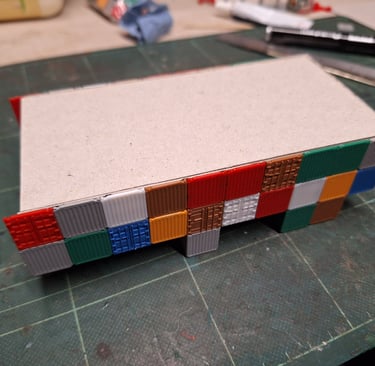
Next some support to the structure is required, helping it all to hold together. Here is where the cardboard comes into play. There is nothing special required here, and in this example we are using the card found at the back of an A4 writing pad:
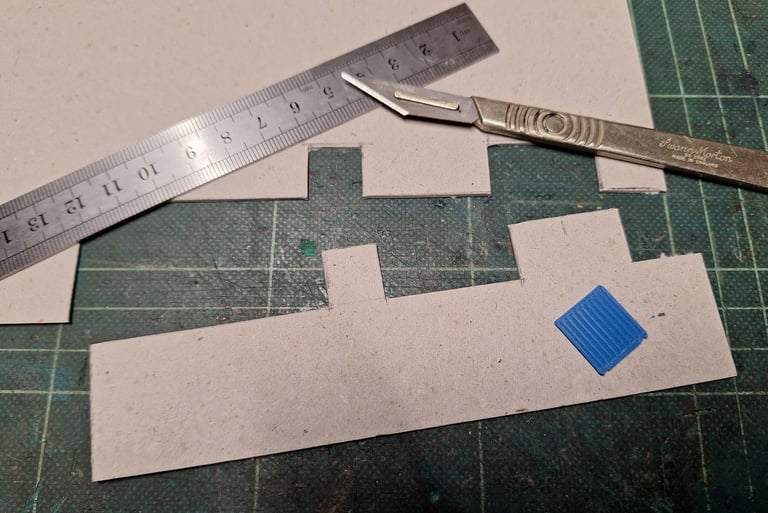
Using your plan and with the aide of some end pieces mark out the approximate shape of your stack on to the card. Make it so the card will fit comfortably inside the finished structure (great accuracy is not required)
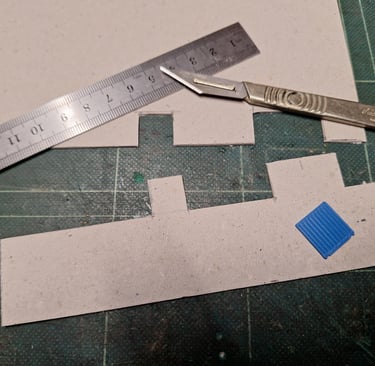
Cut out your card
Using this as a template make a duplicate
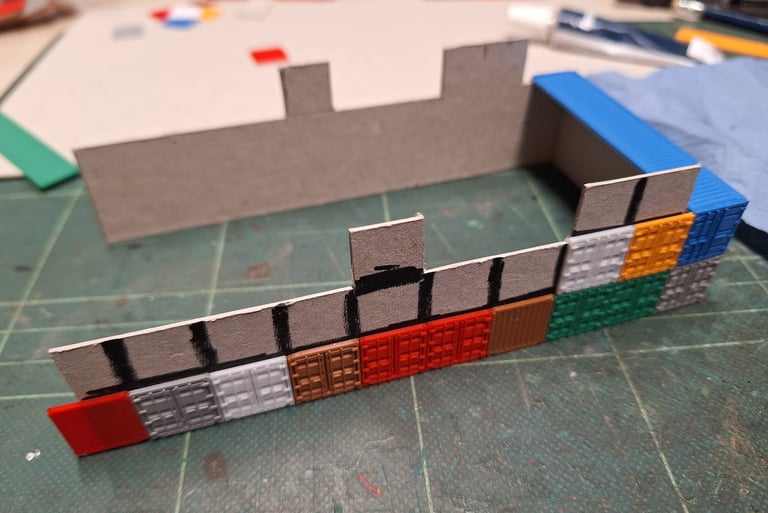
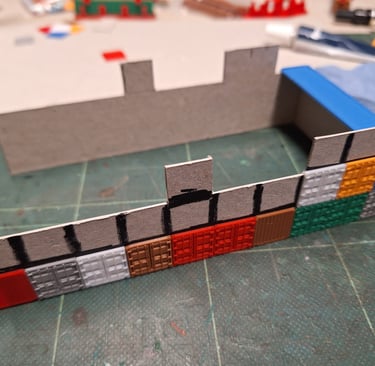
Now you have both supports, for the front and rear panels:
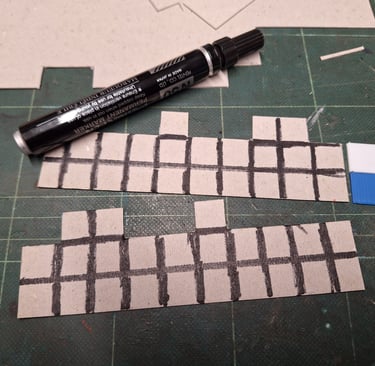
Add black lines in the areas that will be between the container fronts and rears
This helps with the aesthetics as any gaps that show will be dark and thus not so noticeable
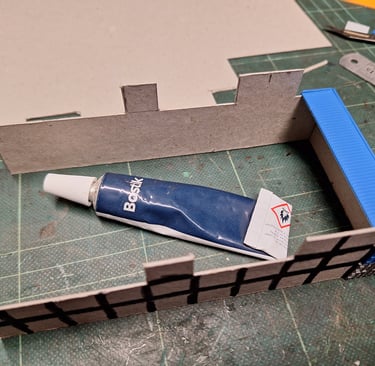
Now you can take your two card support pieces and glue them in place
These pieces then allow the remaining parts to be positioned and put in place quite easily and quickly
Next the front and and rear panels (all that don't have roofs or sides) can be glued in place
Remember to match the front and corresponding rear colours
💡 You can also mix up the fronts with rears as not all containers in the stack have to have the same orientation
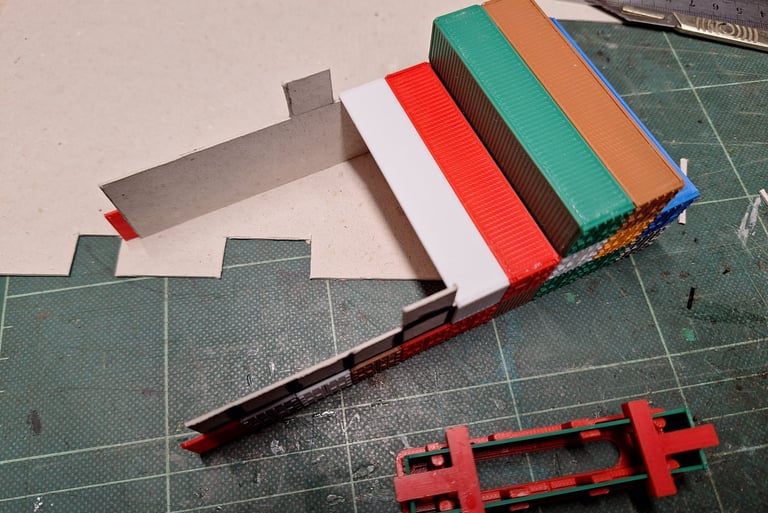
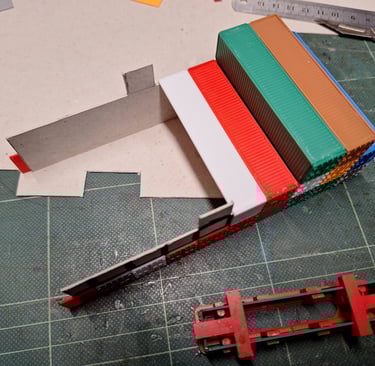
Glue the completed front/rear/roof sections on to the card to create the top of the container stack working from one end to the other
Here we will build a roof section which requires a front, rear and middle of row roof panels:
Place then front and rear panels into the jib
Put glue on the end edges of the middle of row roof panel
Place into the jig and hold both ends in place with the clips, pulling the pieces together
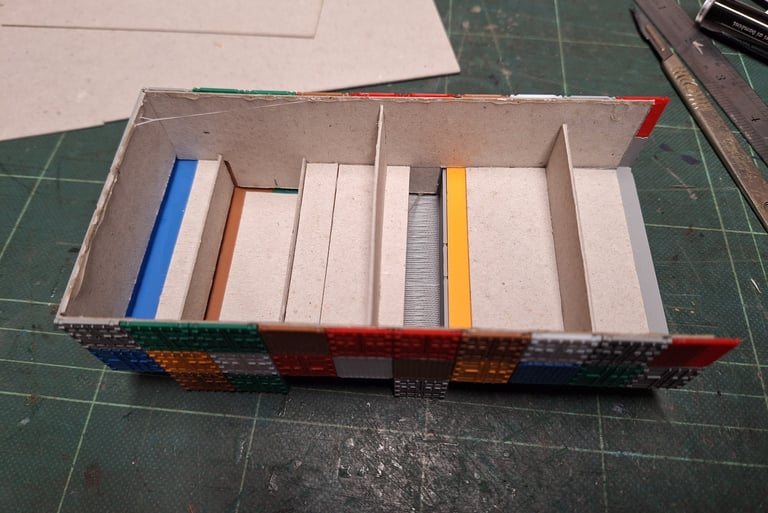
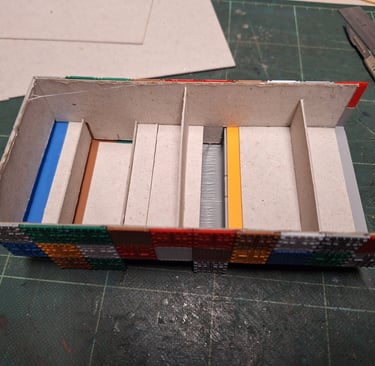
Here we have added a few extra bits of card to the inside, partly for support but also to hide the joins
In a similar way to what we did with adding black lines to the front and rear pieces of card, where a join is being covered apply some black marker, again disguising the join on the visible side
From then on it is basically rinse and repeat until you have your desired stack
The final part now is to add a base (which is optional), but it does add further rigidity to the overall structure and will allow the stack to have some resistance to being squeezed or just handled during installation
Now it's just down to aesthetics; with a bit of weathering and the addition of some decals the stack can really be brought to life
Refer to the Modelling with PLA Prints - Hints and Tips section for more information
💡 To break up the uniformity in colours you could wash over some acrylic paint to change the shade of some of the containers
The decals used in this example are waterslide transfers from

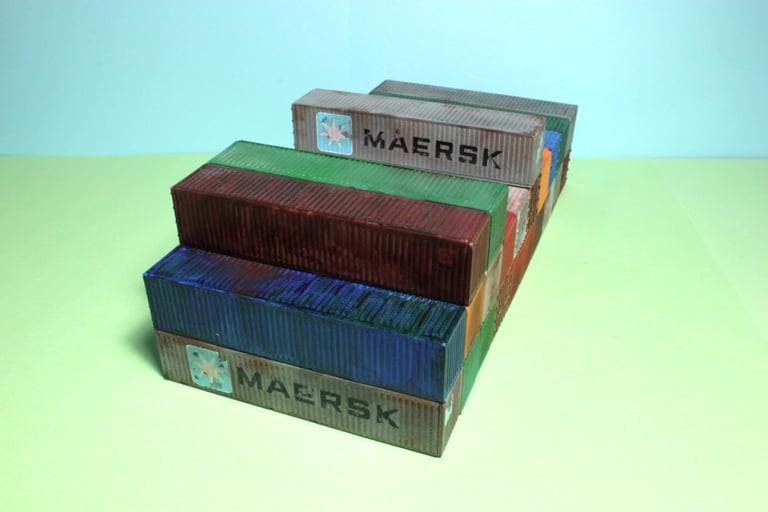
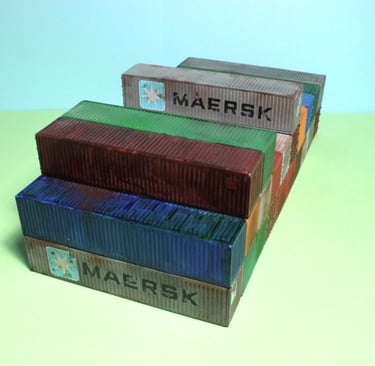
APB Creative Minds - 3D printed and laser cut creations
info@apbcreativeminds.com
©2024-2026. All rights reserved.